If you are not able to open DaVinci Resolve due to the Intel hardware acceleration issue in Windows, Mac, or Linux, you’re at the right place.
To fix the Intel hardware acceleration issue in Resolve, first, find out your system’s processor name and number, and then go to the Intel download center to download the corresponding Intel graphics driver. Install it and re-launch Resolve. It should open.
Let’s explore the fix in detail – step-by-step with pictures (which is very helpful for beginners and newcomers to DaVinci Resolve versions 18.5, 18, 17, 16, etc.).
Intel Hardware Acceleration Issue in DaVinci Resolve
If you’re getting the below error message after launching Resolve, then you must update the graphics driver as recommended by Intel:
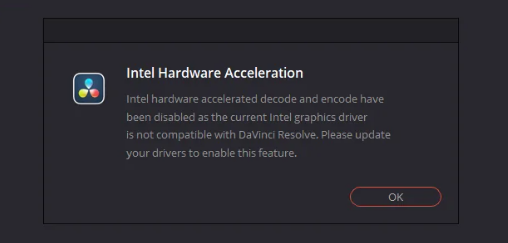
“Intel hardware accelerated decode and encode have been disabled as the current Intel graphics driver is not compatible with DaVinci Resolve. Please update your drivers to enable this feature.”
Fix for Intel Hardware Acceleration in Resolve
#1) Note your system’s processor name and number – Windows, Mac, Linux

- In Windows: Right-click the Start Windows button > click on “System”. Under the “Device Specifications”, take note of the processor name and number as shown in the above screenshot.
- In Mac: Type the following command in the terminal app without the double quotes = “sysctl -a | grep machdep.cpu.brand_string“
- In Linux: Type the following command = lscpu | grep “Model name”
#2) Go to the Intel Download Center
Click here to go to the download center to download software drivers.
Enter your processor number. For example, let’s say – i7 12650h.
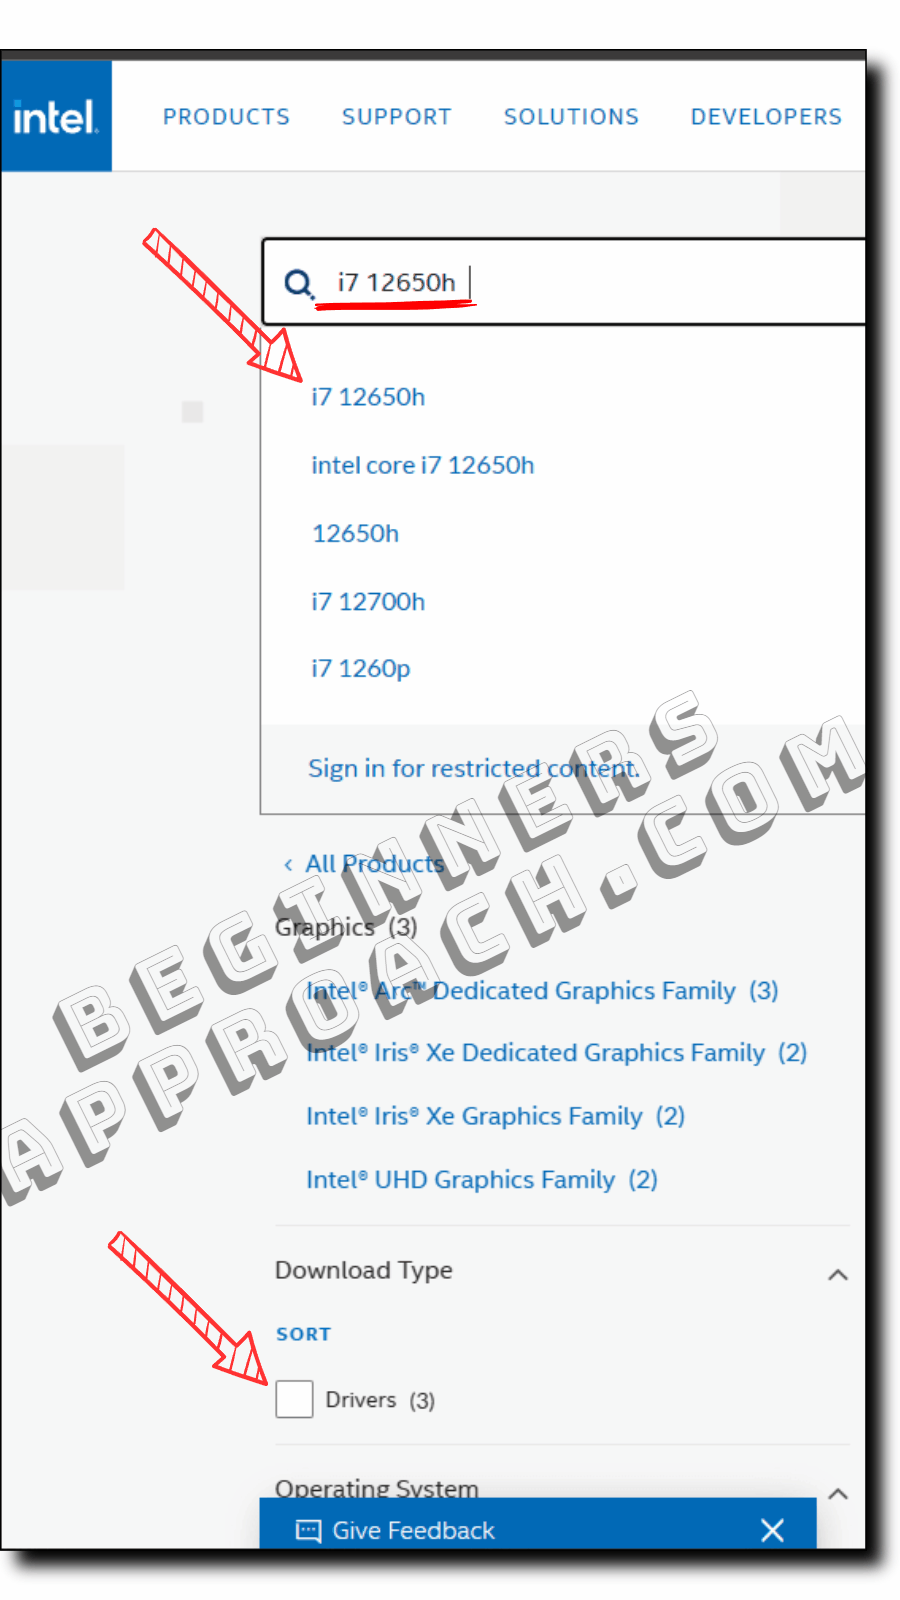
#3) Enable the “Drivers” checkbox
After entering the required processor name, hit enter, and then filter the results by enabling the “Drivers” checkbox, under the “Download Type” section on the left-hand side.

Then locate your required driver and click on it. In this case, I clicked on “Intel Arc & Iros Xe Graphics – WHQL – Windows“.
Intel recommends selecting Intel Graphics – Windows DCH Drivers for the latest updates. If not, there are other options to choose from as well.
#4) Make a Note of the Driver Date and Version
After clicking on the driver link, you’ll be taken to the page containing information about the driver. Take note of the following because it will be required in the subsequent steps (for verification):
- Driver Date
- Driver Version
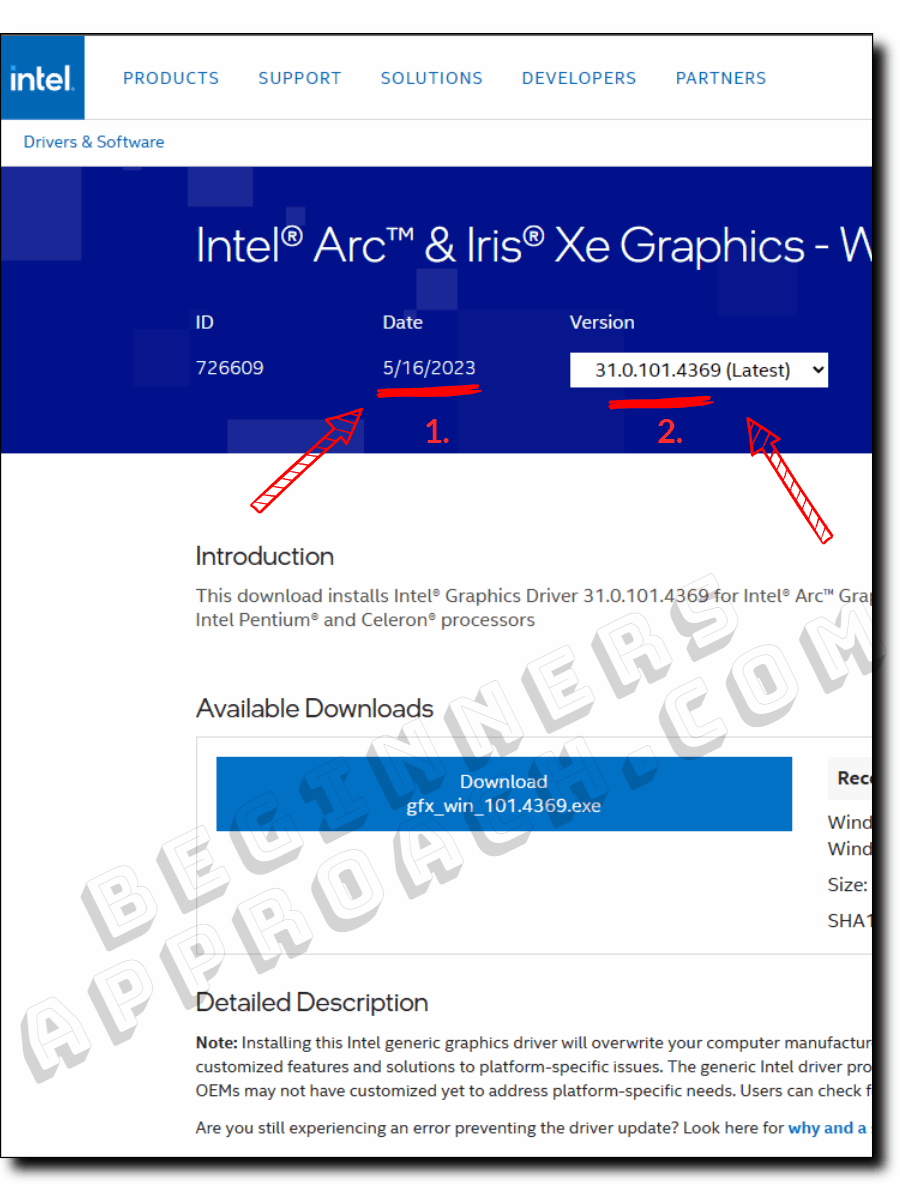
#5) Download and Install Intel Graphics Driver for DaVinci Resolve
Download the exe file and then install it. It’s a straightforward installation.
Follow the onscreen instruction for a smooth installation of the intel driver for DaVinci Resolve.
#5) Verify the Installed Driver
To verify the installed driver, do the following:
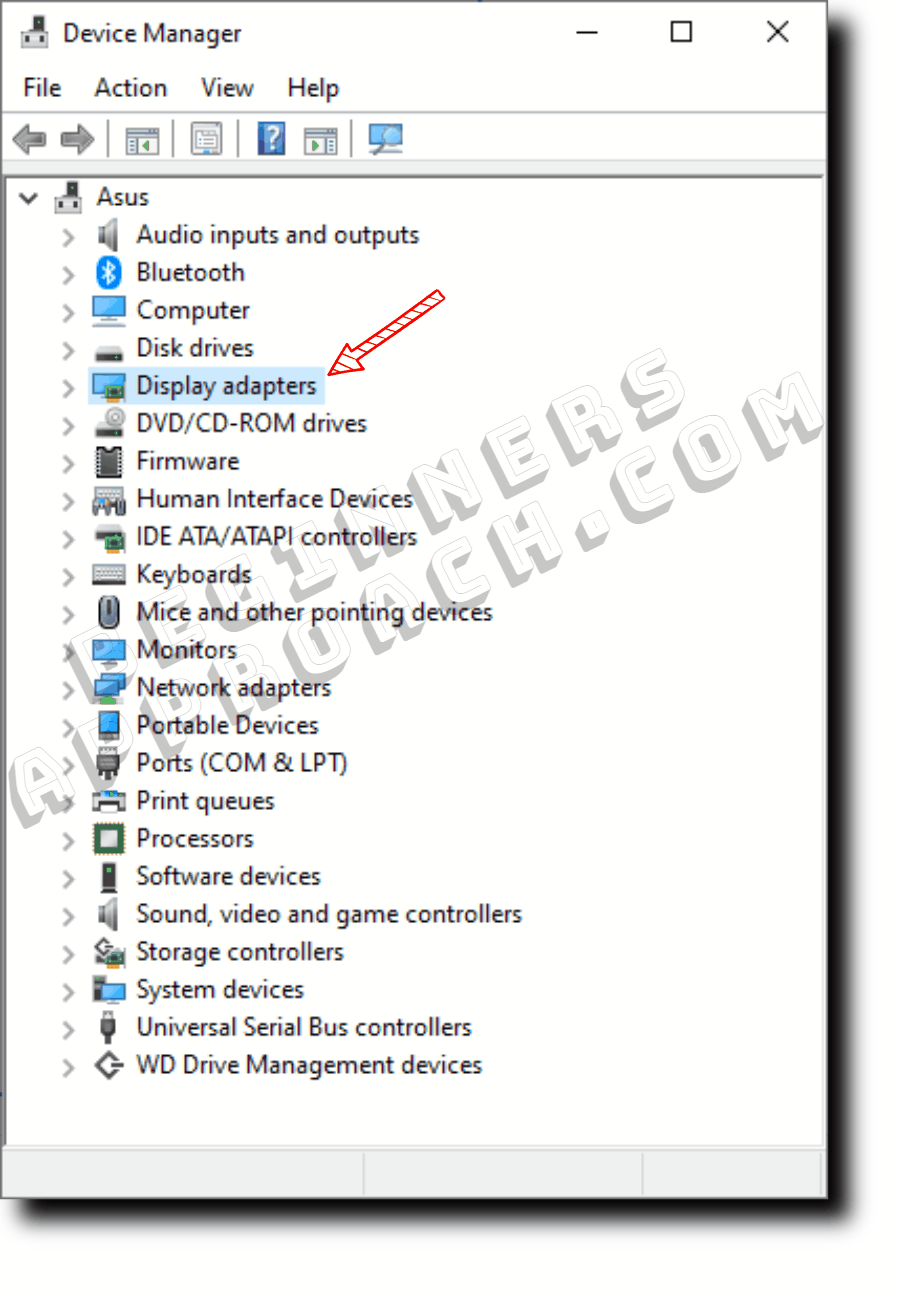
- Open the “Device Manager” – Press the “Windows” icon, then start typing “device manager”. Click on the “Device Manager” option.
- Expand the “Display Adapters” by double-clicking on it.
- Double-click on the intel graphics driver.
- In the “Properties” pop-up, click on the “Driver” tab.
- The driver date and version should match the one displayed on the intel website (step #4 above).
- That’s all!
Launch DaVinci Resolve and it should open successfully without any issues.
Intel Graphics Driver Issues
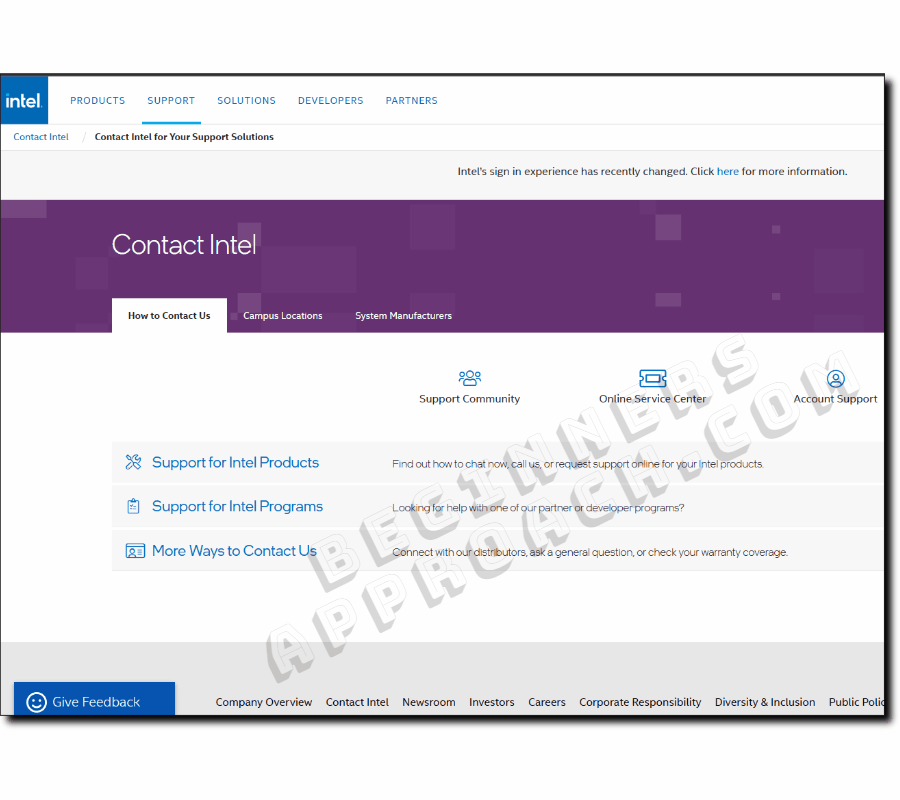
If you’re not able to locate your graphics driver on the Intel website (for launching Resolve), then contact Intel support for resolution.
Issue Not Yet Solved?
After implementing the above fix and if you’re still facing issues with Resolve not opening or other GPU-related issues, then I highly recommend the below detailed guides to fixing your problem:
DaVinci Resolve Not Opening (Updated Working Fixes!)