After you import all the clips inside DaVinci Resolve, they turn might turn offline with no video, but the audio seems to be fine.
Or sometimes, the video plays with out-of-sync audio.
This is a common issue with Variable Frame Rate (VFR) footage. Smartphones, OBS(Open Broadcaster Software), game-play recording software like NVIDIA ShadowPlay, etc, record videos in VFR format.
Please keep in mind that any editing software (NLE) like DaVinci Resolve, Premiere Pro, Final Cut Pro, etc, will expect constant frame rate videos.
It’s a good practice to convert variable framerate footage into constant framerate ones before importing them inside Resolve.
DaVinci Resolve doesn’t support the conversion of variable frame-rate footage to constant frame-rate files.
So…
- You’ll have to install MediaInfo to check the type of framerate (freeware).
- Then install Handbrake to convert VFR into CFR (a freeware).
This is how you do step-by-step:
How to Check your DaVinci Resolve Video for VFR or CFR?
#1. Navigate to Mediainfo.
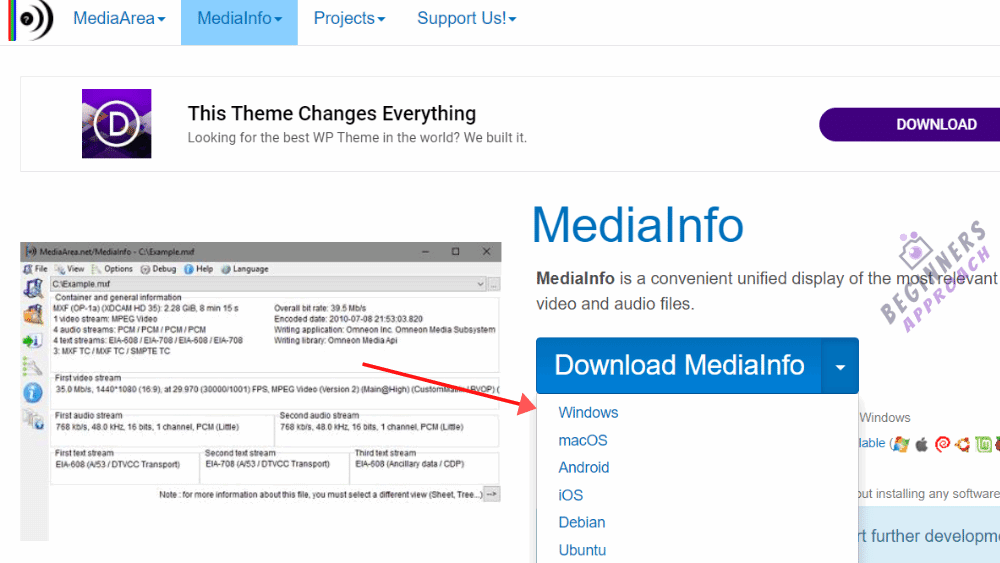
#2. Click on the dropdown to select your OS.
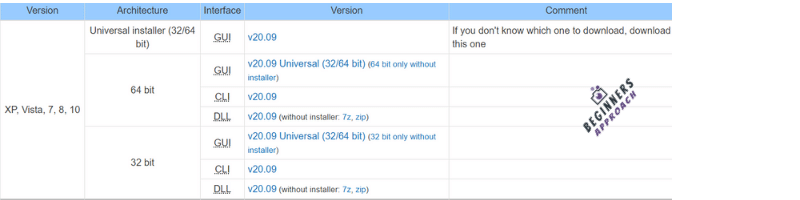
#3. Download the “Universal Installer” and install it.
#4. Launch the application.
#5. Go to “File” > “Open” > “File” > Select your video file.
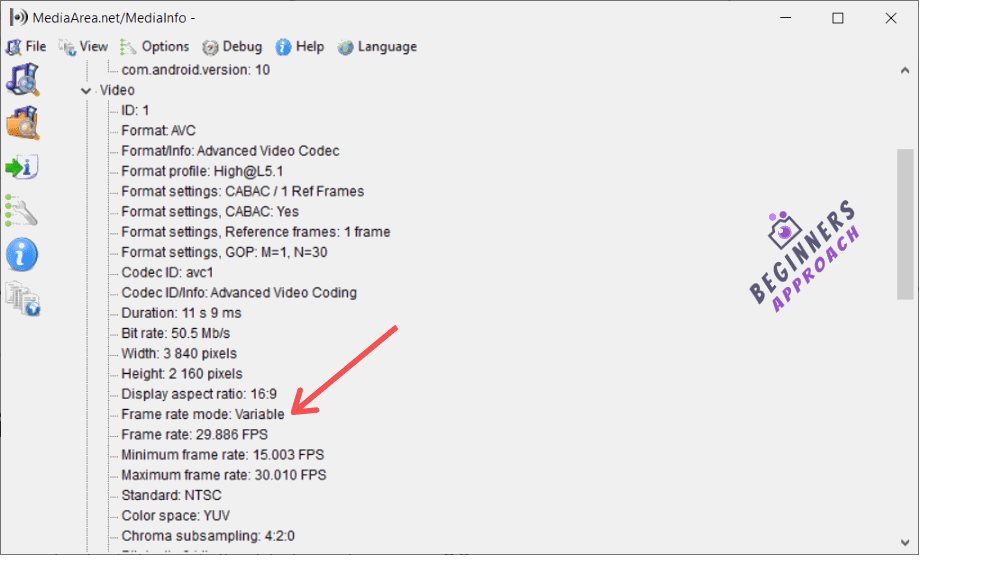
#6. Click on “View” > “Tree”
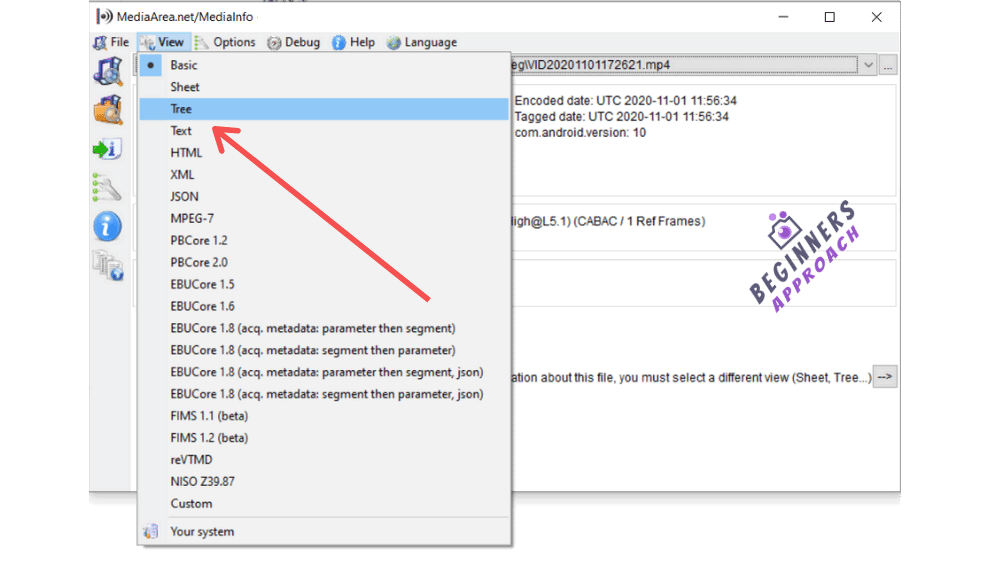
#7. Scroll down till you see “Frame Rate Mode” -> Variable or Constant (based on your footage) underneath “Video“.
How to Convert Variable Frame Rate Video into Constant Frame Rate
#1. Navigate to the “Handbrake” website.
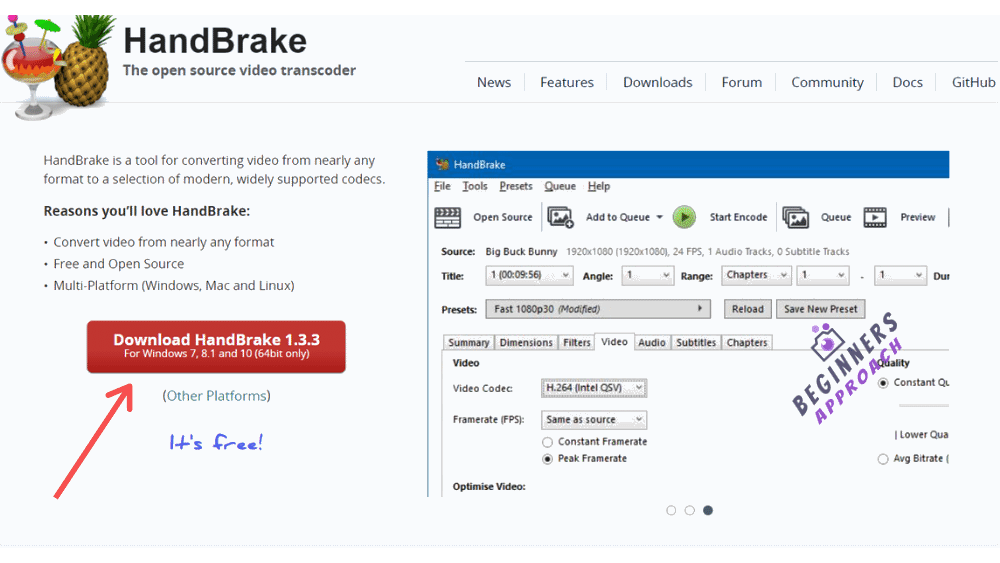
#2. Go to the “Download” section and select the installer file based on your OS.
#3. Install the setup and launch the application.
#4. Go to “File” > “Open Source” > Select your video file.
#5. Select the required “Preset” (Most probably, you will find your required resolution under the “Web” or “General” menu).

#6. Head over to the “Video” tab > Select your required framerate from “Video Codec”.
#7. Then select the “Constant Framerate” radio button.
#8. Click on “Start Encode” on the top.
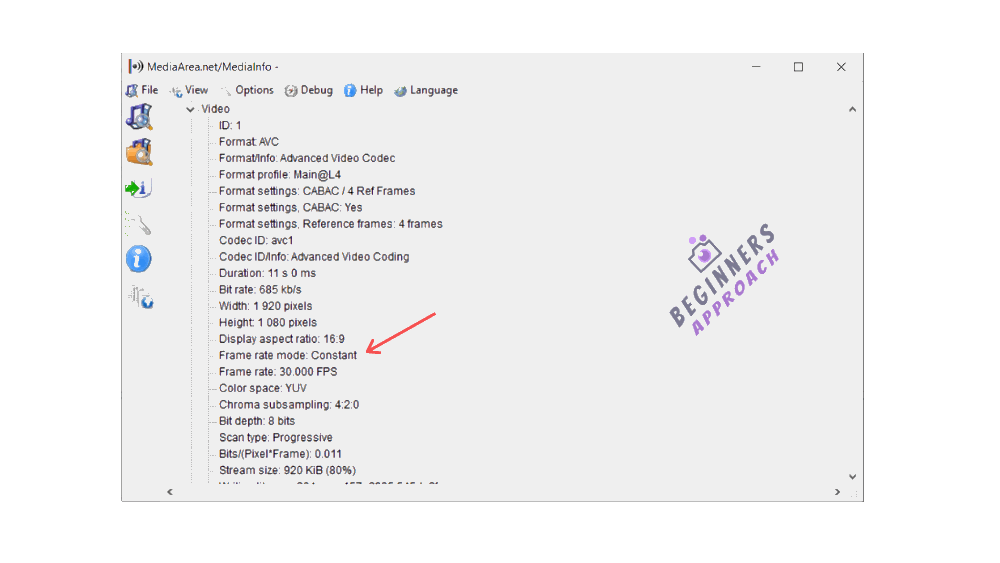
#9. After the re-encoding is complete, open the “Mediainfo” app and check the “Frame Rate Mode”. It should display “Constant“.
Note: Sometimes, the output video from the handbrake could result in a “Variable” framerate video, despite selecting the “Constant Framerate” radio button.
In that case, while selecting framerate (in step no. #6 above), don’t select “Same as Source” for “Video Codec”.
Select the nearest frame rate of your footage and start encoding again (assuming that the “Constant Framerate” radio button is selected).
This should solve the issue.
But despite doing this, if it’s still variable, then try selecting different frame rates like:
- For 30 FPS video, try selecting “29.97”, re-encode, and see if it’s constant.
- If not, try selecting “30”, re-encode, and see if it’s constant.
- Similarly, for 60 FPS video, try with the “59.97” option, etc.
- You get the idea.