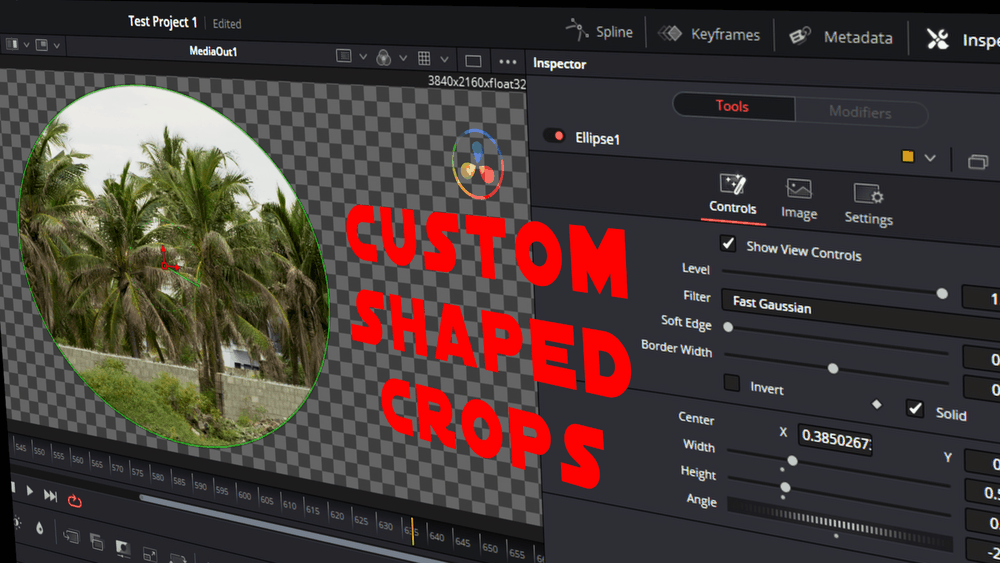
Today, we’ll see how to create custom-shaped crops: circle (oval) and diagonal crops in DaVinci Resolve – very useful for beginners and newcomers to DaVinci Resolve (versions 18.6, 18, 17, etc.).
You can create circular, elliptical, or oval-shaped crops in DaVinci Resolve on the “Fusion” page. A single click enables the “Ellipse” option, which helps you create the shapes you want. Then go to the “Edit” page to further transform the crop using zoom in or zoom out, panning or tilting till you get the desired output.
You can create diagonal shaped crops (or other custom shaped crops) in DaVinci Resolve on the “Fusion” page using the “Polygon” icon. This creates a split screen effect.
Click here to learn the basics of cropping in DaVinci Resolve quickly.
Detailed Guide:
How to Do Circle or Oval Crop in DaVinci Resolve?
- Under the “Edit” page, click on the clip from the timeline to select it.
- Click on the “Fusion” page.
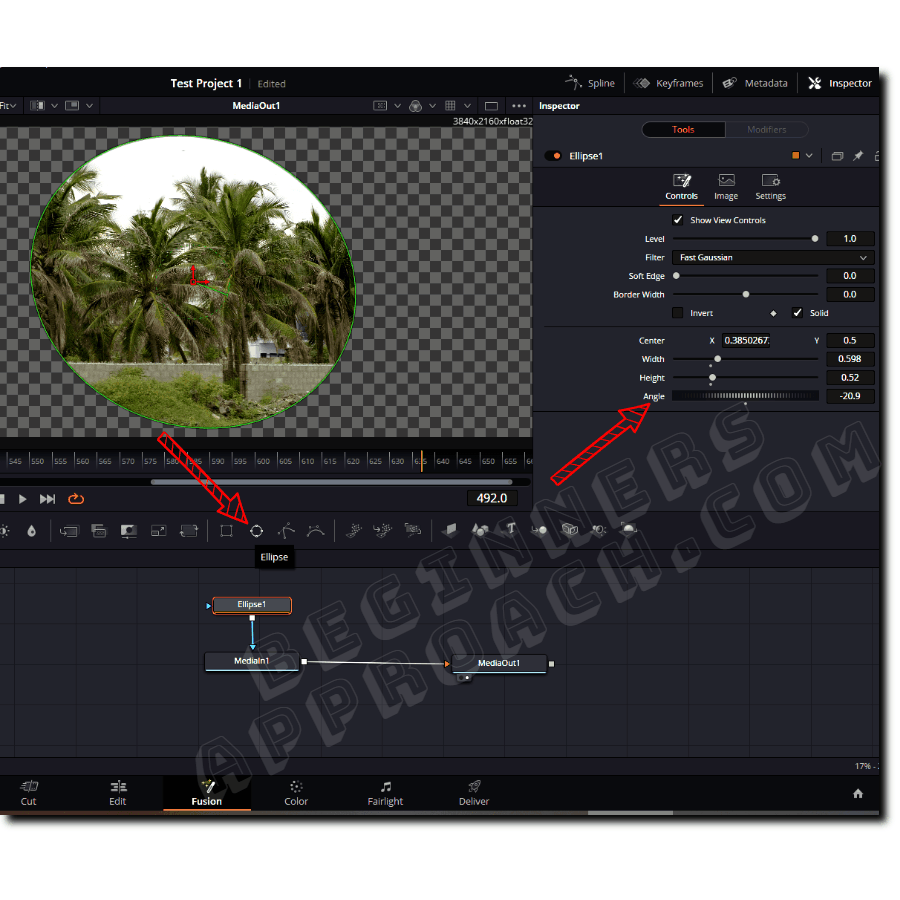
- Below the viewer, click on the “Ellipse” button from the options.
- Under the “Nodes” area, by default, the line from the “Ellipse1” should connect to the “Media1” node. If not, then drag the line from the end of “Ellipse1” and drop it onto the “Media1” node. Both should now be connected.
- Click on the “Ellipse1” node.
- Go to the “Inspector” > “Ellipse1” > “Controls” tab.
- Adjust the “Width“, “Height,” and “Angle” to get the shape you want – circle, oval, or other elliptical shapes.
- Once you are ok with the shape, come back to the “Edit” page.
- Under “Transform”, adjust Zoom or Position settings till you get the desired output.
- That’s all!
Can I Create Diagonal Crops in DaVinci Resolve?
You can create diagonal or any other shaped crops in DaVinci Resolve on the “Fusion” page. A single click will enable the “Polygon” option, which should quickly help you to create the shapes you want. Then click on the “Edit” page and place another video below the current track to see the 2 videos split diagonally.
How to Create Diagonal Crop (Split Screen) in DaVinci Resolve?
- Under the “Edit” page, click on the clip from the timeline (ideally in track 2 or in the upper track with another video beneath it).
- Click on the “Fusion” page.
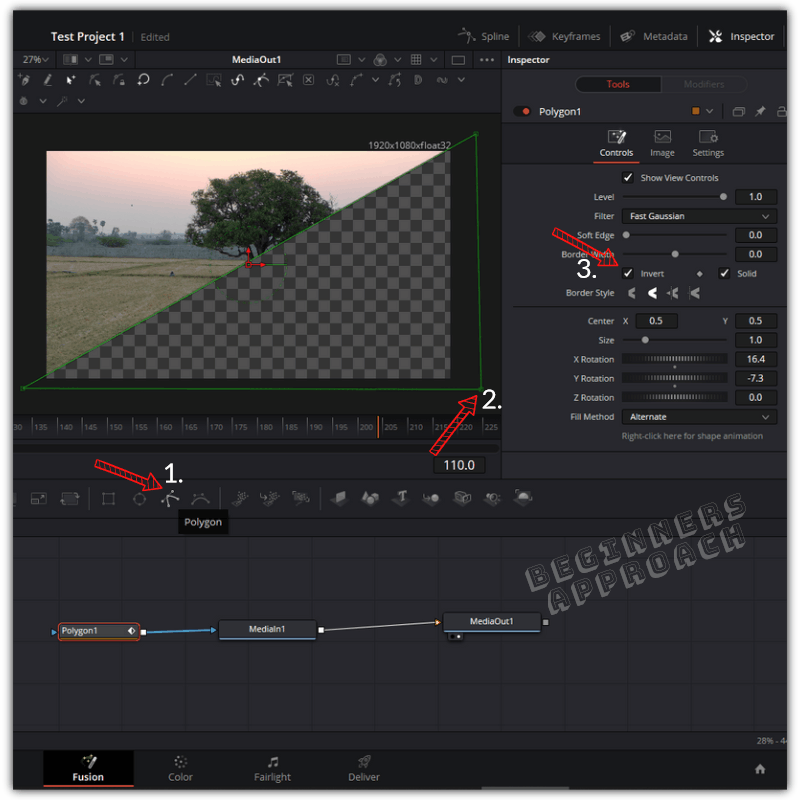
- Below the viewer, click on the “Polygon” button from the options.
- Under the “Nodes”, by default, the line from the “Polygon1” should connect to the “Media1” node. If not, then drag the line from the end of “Polygon1” and drop it onto the “Media1” node. Both should now be connected.
- Click on the “Polygon1” node.
- Hover your mouse over the video in the timeline viewer, press “Ctrl”, and scroll your middle mouse button to zoom out a bit.
- Click on the left bottom corner below the image (your cursor will be plus-shaped). A mark will be left with 3 dots.
- Now go diagonally opposite the right top corner and click again above the image. A diagonal line will connect the corners. Come straight down to the bottom right corner, and click on the empty space after the image. Now again, click on the bottom left corner to complete the selection.
- You will see a triangle shape cropping the image diagonally.
- Go to the “Inspector” > “Polygon1” > “Controls” tab.
- Click on the “Invert” checkbox if you want to invert the selection.
- Now go back to the “Edit” page for further fine-tuning according to your taste.
If you have another video clip beneath the diagonally cropped clip, then you will see both videos diagonally cut.
It looks like a split screen!